








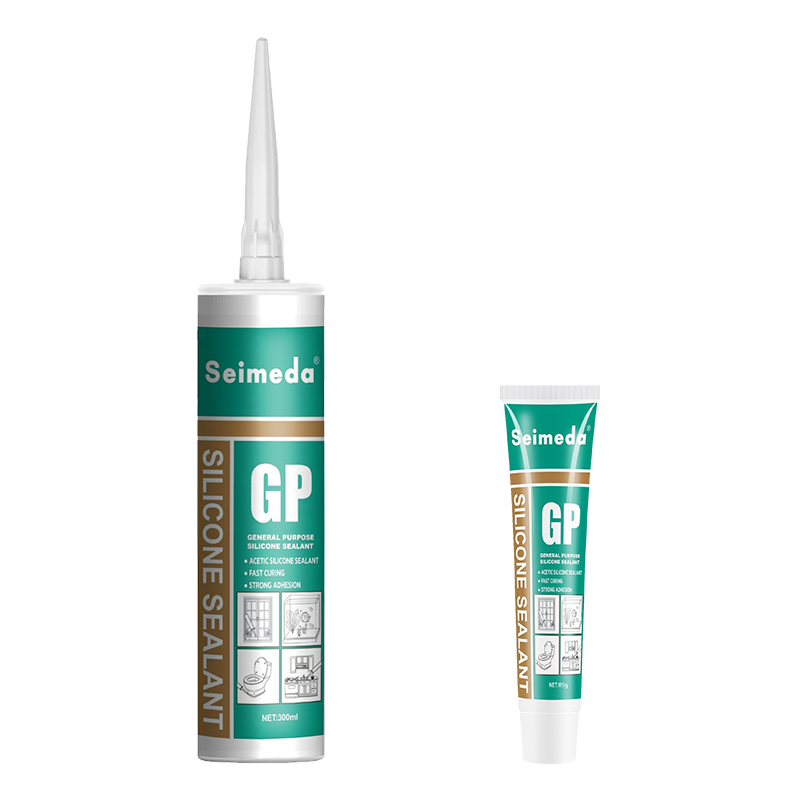
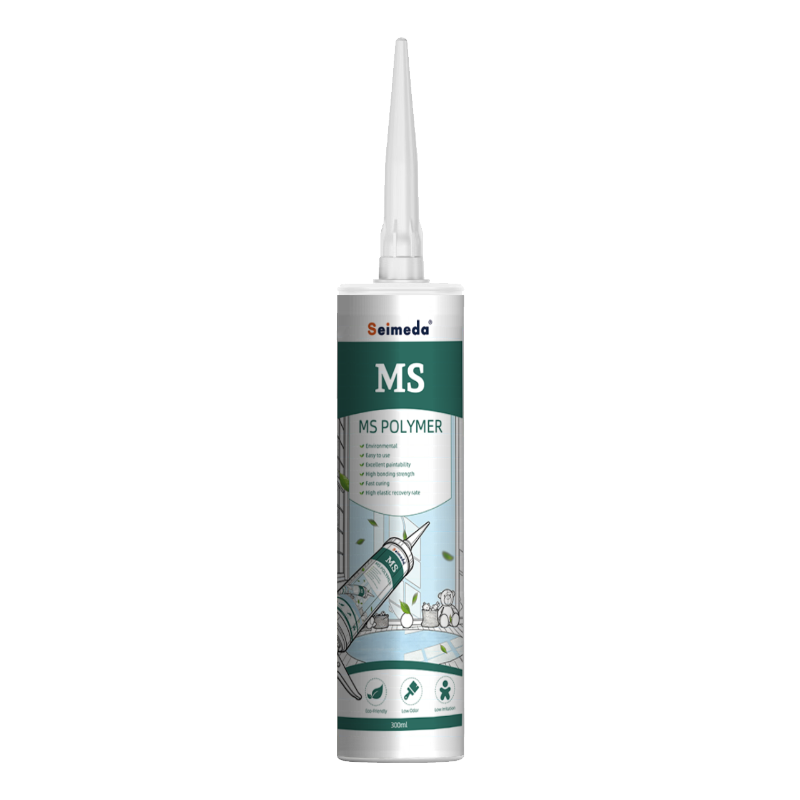
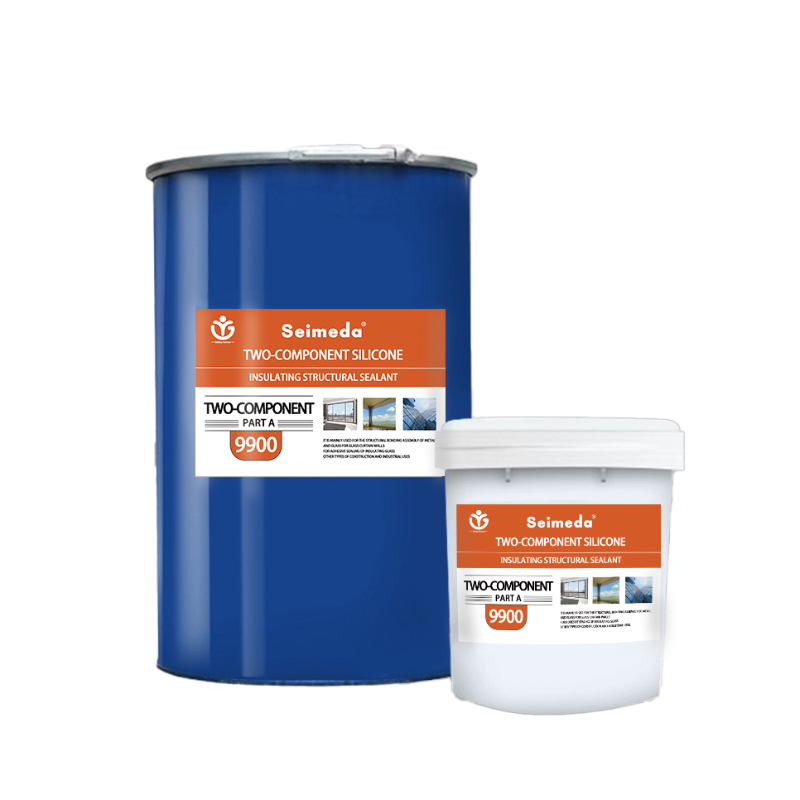
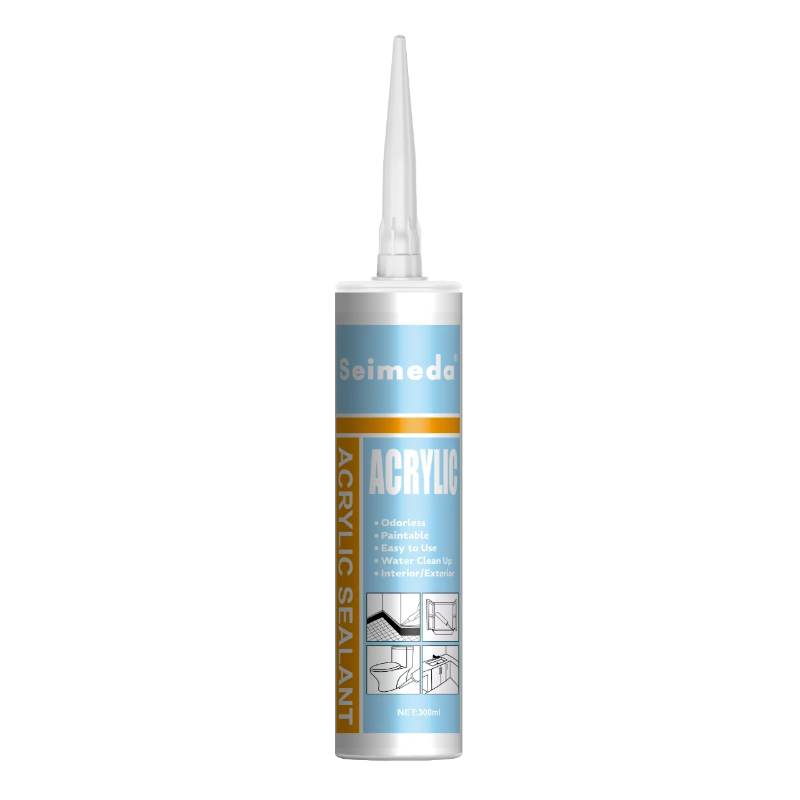
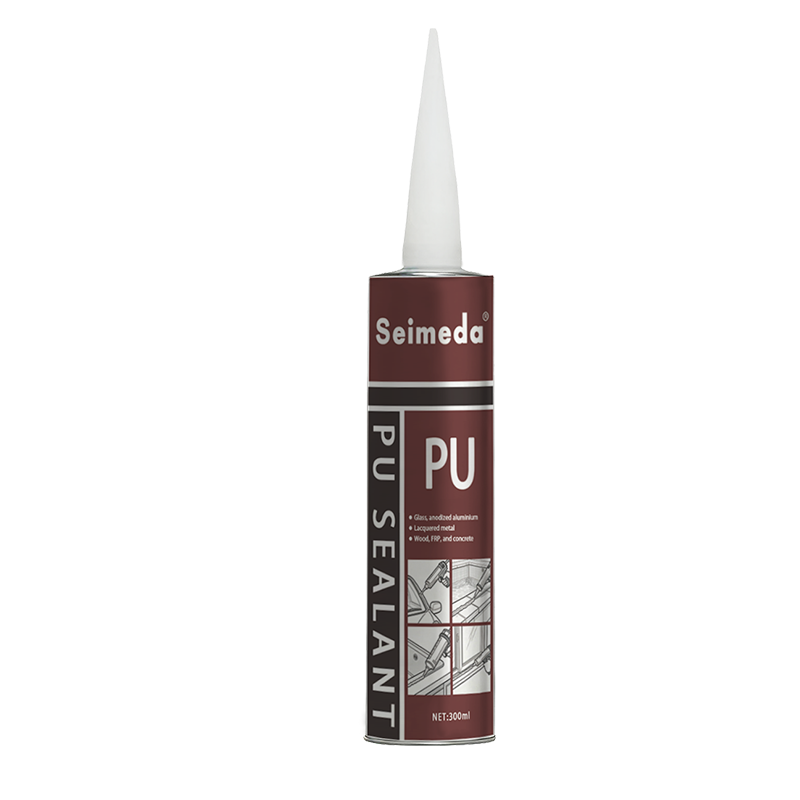
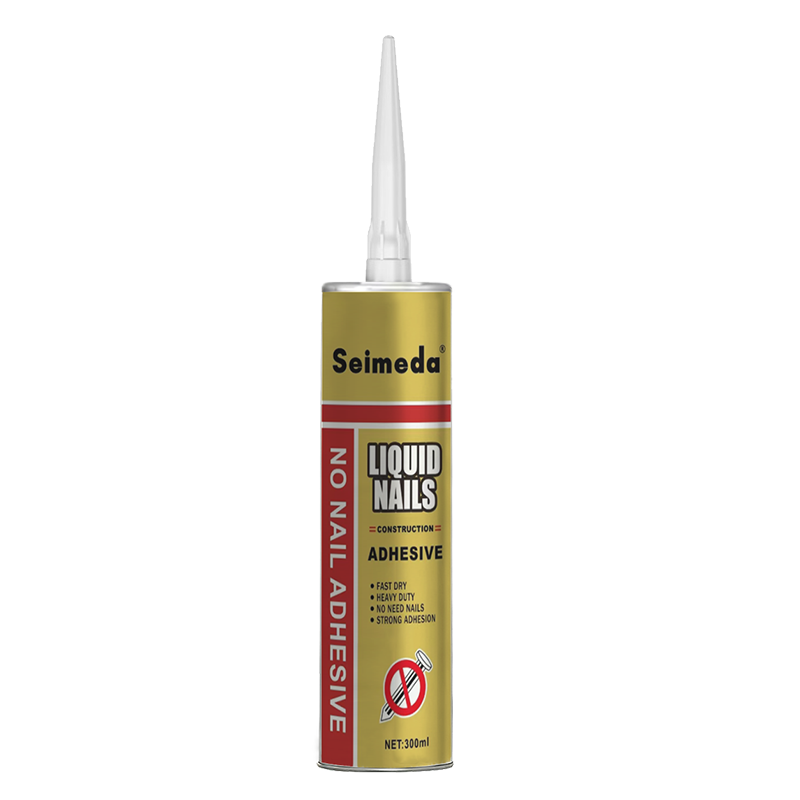
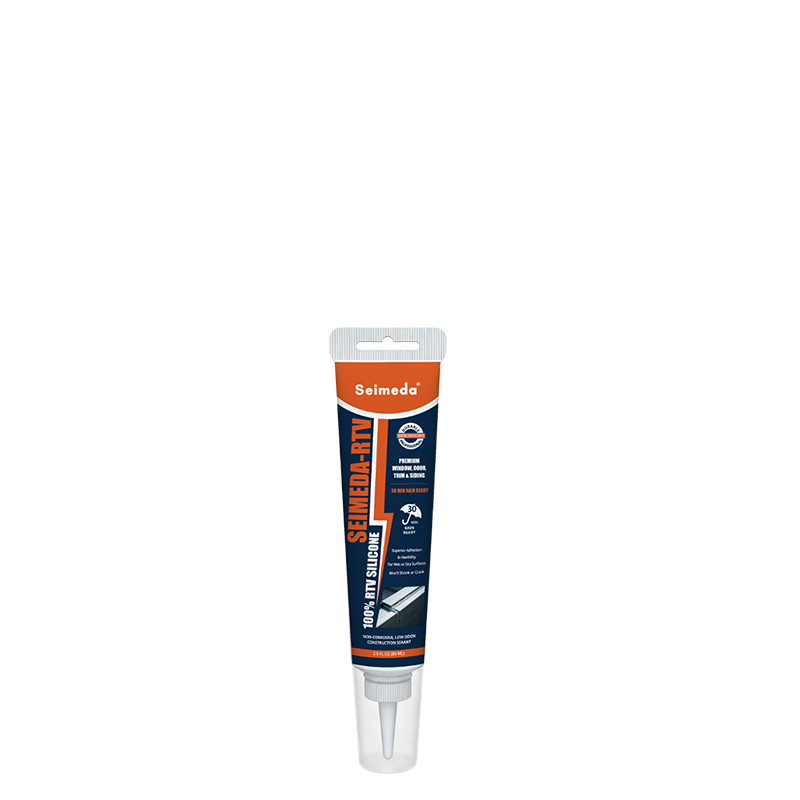
General Purpose Acetoxy Silicone Sealant is a one-component, moisture-curing product designed for many common sealing jobs around glass, glazed ceramic, and non-porous tiles. It forms a flexible, water-resistant seal after curing and is commonly used around sinks, shower screens, ceramic fixtures, tile joints, and glass panels. This guide explains how to select, prepare, apply, tool, cure, and maintain acetoxy silicone safely while identifying situations where a neutral-cure or specialty sealant is a better choice.
Brief summary: The most reliable result comes from choosing compatible substrates, removing old sealant, keeping the joint clean and dry, applying a continuous bead, tooling it promptly, and allowing sufficient curing time. Acetoxy silicone is generally well suited to glass and glazed ceramic, but it should not be used automatically on porous stone, concrete, sensitive metals, mirror backing, or substrates affected by acidic vapors.
Google results for this topic typically combine manufacturer technical pages, home-improvement tutorials, construction guidance, and product-selection articles. Rankings and page availability can change by country, device, and search history, so the following is a practical SERP-content summary rather than a permanent ranking claim.
- Manufacturer application guides:
- Explain product chemistry, compatible materials, application temperature, cure time, and limitations.
- Usually target users who need a technically correct installation method or product datasheet.
- Home-improvement tutorials:
- Focus on removing old silicone, cutting the nozzle, applying a neat bead, smoothing the joint, and cleaning excess sealant.
- Target homeowners seeking a quick, practical repair.
- Tile and bathroom installation articles:
- Emphasize movement joints, wet-area detailing, mold prevention, and the difference between grout and flexible sealant.
- Target tile installers, renovators, and bathroom contractors.
- Product-comparison content:
- Compares acetoxy and neutral-cure silicone, paintability, adhesion, odor, curing speed, and substrate compatibility.
- Target buyers who are unsure which sealant chemistry to choose.
- Safety and technical-reference content:
- Highlights ventilation, Safety Data Sheets, skin and eye protection, and the acidic odor released during cure.
- Target professional users and readers checking whether a product is suitable for a particular material.
Search Intent and Content Perspectives Found in First-Page Sealant Guides
- ASTM C920 for elastomeric joint sealant performance classifications.
- OSHA Hazard Communication Standard for Safety Data Sheet and chemical-labeling information.
- U.S. EPA Indoor Air Quality resources for ventilation considerations when using chemical products indoors.
- Current technical data sheets and SDS documents supplied by the specific sealant manufacturer. These documents control when their instructions differ from general guidance.
Common authoritative source categories to consult
Six SEO-Friendly Article Outlines for This Topic
- What GP acetoxy silicone is and where it works.
- Tools and materials checklist.
- How to remove old sealant.
- How to prepare glass, ceramic, and tile.
- How to apply, tool, and cure the bead.
- Common mistakes and maintenance tips.
Outline 1: Complete DIY Application Guide
- Suitable bathroom joints.
- Why grout should not replace movement sealant.
- Sealing shower screens, basins, tubs, and ceramic fixtures.
- Mold-resistant maintenance practices.
- When to use sanitary silicone instead.
Outline 2: Acetoxy Silicone for Bathroom Tiles and Glass
- Curing chemistry and odor.
- Advantages for glass and glazed ceramics.
- Substrates that require neutral-cure chemistry.
- Paintability, adhesion, and weathering comparison.
- Selection checklist for professional users.
Outline 3: Acetoxy vs. Neutral-Cure Silicone
- Joint design and movement allowance.
- Substrate inspection and adhesion testing.
- Backer materials and bond-breaker principles.
- Controlled dispensing and tooling.
- Quality-control inspection and handover.
Outline 4: Professional Glass and Ceramic Sealant Installation
- Why silicone peels from tile or glass.
- Why the bead remains soft or sticky.
- How to correct bubbles, gaps, smears, and uneven edges.
- Causes of mold, discoloration, and water leakage.
- Safe removal and replacement procedure.
Outline 5: Troubleshooting Silicone Sealant Problems
- Reading the product label and SDS.
- Ventilation and personal protective equipment.
- Acid-sensitive substrates and incompatible materials.
- Cure-time protection and water exposure.
- Inspection schedule and replacement indicators.
Outline 6: Safety, Compatibility, and Maintenance Guide
GP acetoxy silicone is a one-part elastomeric sealant that cures when it reacts with moisture in the air. The acetoxy curing process commonly produces an acetic-acid odor, often compared with vinegar. Once cured, the material remains flexible and can accommodate limited joint movement.
“General purpose” does not mean “suitable for every substrate.” Always check the product label, technical data sheet, and SDS before installation. A product designed for glass and ceramic may not be approved for structural glazing, aquariums, food-contact applications, fire-rated joints, natural stone, or continuously immersed conditions.
What GP Acetoxy Silicone Sealant Is and How It Cures
For product information and related sealing solutions, refer to Seimeda technical documentation and confirm the exact product grade before beginning work.
Where Acetoxy Silicone Is Usually Suitable
- Sealing glass-to-glass joints in non-structural applications.
- Sealing glass against glazed ceramic surfaces.
- Finishing joints around ceramic sinks, toilets, backsplashes, and tile edges.
- Sealing small gaps around non-porous bathroom fixtures.
- Providing a flexible seal at changes of plane, such as wall-to-floor tile transitions.
- Sealing trim and edging where the manufacturer confirms compatibility.
When a different sealant should be considered
- Natural stone: Use a stone-safe product after checking for staining or edge-darkening risk.
- Concrete, mortar, and porous grout: A primer or a different sealant chemistry may be required.
- Sensitive metals: Acidic cure by-products may contribute to corrosion or surface damage on certain metals.
- Mirror backing: Use only a mirror-compatible product approved by the mirror manufacturer.
- Structural glazing or load-bearing work: Use an engineered structural glazing system, not general-purpose silicone.
- Painted surfaces: Confirm adhesion and paint compatibility; cured silicone is generally difficult to paint.
- Continuous immersion: Select a product specifically rated for permanent water exposure if required.
Tools and Materials to Prepare Before Starting
- Compatible GP acetoxy silicone sealant.
- Manual or pneumatic caulking gun matched to the cartridge.
- Sharp nozzle-cutting tool or utility knife.
- Plastic scraper and, where appropriate, a dedicated silicone-removal tool.
- Lint-free cloths or disposable towels.
- Manufacturer-approved cleaner or isopropyl alcohol where compatible.
- Low-tack masking tape.
- Nitrile gloves and safety glasses.
- Clean water and a suitable tooling solution only if permitted by the product instructions.
- Ruler, joint gauge, or measuring tool for consistent bead dimensions.
Step 1: Inspect the Joint and Confirm Compatibility
- Identify every substrate that the sealant will contact, including tile glaze, ceramic body, glass coating, metal trim, grout, paint, stone, or plastic.
- Check the cartridge label and technical data sheet for approved substrates and exclusions.
- Confirm the joint is non-structural and does not require a fire-rated, sanitary, chemical-resistant, or movement-rated specialty system.
- Measure the joint width and depth. Do not force a thick bead into a narrow joint without checking the manufacturer’s recommended geometry.
- Perform a small adhesion and staining test in an inconspicuous area when the substrate, coating, or finish is uncertain.
Step 2: Remove Old Silicone and Contamination Completely
- Cut along both edges of the existing bead with a sharp blade, taking care not to scratch glass or glazed tile.
- Pull away the loosened silicone in strips.
- Use a plastic scraper to remove remaining residue.
- Remove soap film, grease, dust, loose grout, mildew, and mineral deposits.
- Use a compatible residue remover only after testing it on the surface.
- Do not apply new silicone over degraded, moldy, wet, or contaminated old sealant.
New silicone generally adheres poorly to cured silicone residue. Surface preparation is one of the most important factors in preventing peeling and water leakage.
Step 3: Clean and Dry Glass, Ceramic, and Tile Surfaces
- Wash the surfaces to remove dirt and water-soluble contamination.
- Rinse away cleaner residue.
- Wipe with a compatible solvent or cleaner recommended by the sealant manufacturer.
- Allow the joint to dry fully. Pay special attention to porous grout lines and gaps behind fixtures.
- Do not touch the prepared bonding surfaces with bare fingers.
- Mask both sides of the joint with low-tack tape if a straight decorative edge is needed.
Moisture in the air is necessary for silicone curing, but liquid water trapped inside the joint can reduce adhesion and delay cure. The bonding surfaces should be visibly clean and dry before dispensing.
Step 4: Cut the Nozzle for the Correct Bead Size
- Cut the cartridge tip at approximately a 45-degree angle.
- Make the nozzle opening slightly narrower than the joint width for better control.
- Use a smaller opening for a neat finishing bead and enlarge it only if the joint requires more material.
- Puncture the inner seal without damaging the cartridge outlet.
- Load the cartridge into the caulking gun and test the flow on scrap material.
A nozzle cut that is too large produces waste, messy edges, and excessive tooling. A cut that is too small may create a discontinuous bead or require excessive gun pressure.
Step 5: Apply One Continuous Bead
- Hold the nozzle at approximately 45 degrees to the joint.
- Keep the nozzle tip in contact with both sides of the joint where practical.
- Apply steady pressure to the trigger while moving at a consistent speed.
- Push the sealant ahead of the nozzle rather than dragging it away from the joint.
- Complete the run in one pass whenever possible.
- At corners, slightly overlap the bead rather than leaving an unfilled pinhole.
- If a cartridge must be interrupted, restart with a small overlap and tool the connection immediately.
How much sealant is needed?
Estimate cartridge requirements using the joint cross-sectional area, joint length, and cartridge volume. Add an allowance for waste, nozzle residue, overlaps, and test beads. Wide or deep joints may require a backer material or a different joint design; do not fill large voids with an unnecessarily thick silicone mass without consulting the technical data sheet.
Step 6: Tool the Sealant Before Skin Formation
- Tool the bead within the product’s stated tooling or skin-forming time.
- Use a clean profiling tool to press the silicone firmly against both bonding surfaces.
- Create a smooth, slightly concave finish that sheds water.
- Remove masking tape while the sealant is still fresh.
- Pull the tape away from the joint at a low angle.
- Remove small smears immediately using the approved cleaning method.
Do not repeatedly disturb a partially skinned bead. Excessive rubbing can create drag marks, air pockets, or a weak surface skin.
Step 7: Allow the Joint to Cure Without Disturbance
- Keep the joint dry and protected from movement during the initial cure period.
- Maintain the temperature and humidity range specified on the product data sheet.
- Provide ventilation, especially in small bathrooms or poorly ventilated rooms.
- Do not use the shower, sink, or fixture until the manufacturer’s minimum cure time has passed.
- Remember that a surface skin does not prove that the full depth has cured.
- Allow additional time for cool temperatures, low humidity, deep joints, or restricted airflow.
Cure time varies by product, bead size, temperature, and humidity. The cartridge label and technical data sheet should always take priority over generic estimates.
Acetoxy Silicone Versus Neutral-Cure Silicone
| Feature | Acetoxy silicone | Neutral-cure silicone |
|---|---|---|
| Curing by-product | Typically acetic acid, with a vinegar-like odor | Typically a less acidic curing reaction, depending on formulation |
| Common strengths | Strong adhesion to many non-porous glass and glazed ceramic surfaces; often fast skin formation | Often preferred for sensitive metals, porous materials, coated surfaces, and broader substrate compatibility |
| Typical limitations | May be unsuitable for acid-sensitive substrates, some metals, natural stone, and certain coatings | May have different cure speed, tooling behavior, odor, and price |
| Paintability | Most cured silicone products are not readily paintable; verify the exact product before specifying paint. | |
Choose chemistry based on the least compatible substrate in the joint. If glass is bonded to metal, stone, coated aluminum, or a sensitive backing material, do not select acetoxy silicone solely because it is labeled “general purpose.”
Common Glass, Ceramic, and Tile Applications
Sealing a glass shower screen to ceramic tile
- Verify that the shower-screen frame, glass coating, tile glaze, and any metal trim are compatible.
- Remove old sealant and dry the joint thoroughly.
- Mask the tile and frame to create a clean edge.
- Apply a continuous bead without blocking designed drainage channels or weep paths.
- Tool the bead smoothly and keep the shower unused for the required cure period.
Sealing around a ceramic sink or toilet
- Confirm that the fixture is mechanically secured before sealing.
- Leave any manufacturer-required access or drainage opening unsealed.
- Apply a neat bead at the fixture-to-tile junction.
- Tool the joint to remove voids and prevent standing water.
- Inspect periodically for separation, discoloration, or water migration.
Sealing a tile change of plane
Use flexible sealant at internal corners, wall-to-floor transitions, and changes between different materials where movement may occur. Rigid grout can crack in these locations. Follow the project specification for joint width, backer material, and color requirements.
Safety and Environmental Controls for Indoor Application
- Read the product label and SDS before use.
- Wear gloves and safety glasses to prevent skin and eye contact.
- Ventilate the work area during application and curing.
- Keep children, pets, and unprotected occupants away from uncured sealant.
- Do not intentionally inhale vapors or use the product in an unventilated confined space.
- Follow local requirements for disposal of cartridges, wipes, and solvent-contaminated materials.
- Never use a general-purpose sealant for potable-water, food-contact, aquarium, medical, or fire-rated applications unless the product is specifically certified for that use.
Troubleshooting: Why Silicone Fails and How to Fix It
The sealant peels from glass or tile
- Likely causes include dust, grease, moisture, silicone residue, incompatible coatings, or movement beyond the product’s capability.
- Remove the failed bead completely, clean and dry the surfaces, perform an adhesion test, and reapply with the correct product.
The bead remains soft or sticky
- Possible causes include expired product, excessive depth, low temperature, inadequate humidity, or chemical contamination.
- Check the batch date and technical data sheet. Remove uncured material if it cannot cure properly and replace it with fresh, compatible sealant.
The joint develops mold or black staining
- Possible causes include persistent moisture, poor ventilation, organic contamination, failed adhesion, or a product not intended for sanitary conditions.
- Correct the water or ventilation problem, remove contaminated silicone, disinfect compatible surfaces, dry thoroughly, and use a bathroom-rated product where appropriate.
The finish is uneven or has bubbles
- Apply at a consistent speed, maintain nozzle contact, avoid trapping air, and tool the bead immediately.
- Do not attempt to disguise major voids by smearing a thin second layer over a cured bead unless the manufacturer specifically permits it.
Maintenance and Replacement Checklist
- Inspect wet-area joints every few months for gaps, lifting, cracking, or discoloration.
- Keep the sealed area clean with a cleaner that will not attack the silicone or surrounding finish.
- Reduce standing water by improving ventilation and drying surfaces after use.
- Do not cut into the sealant with abrasive tools during routine cleaning.
- Replace the entire failed bead rather than applying a cosmetic patch over loose material.
- Investigate hidden leaks before resealing; silicone is not a substitute for correcting plumbing or waterproofing defects.
Key Compatibility and Installation Points That Are Often Overlooked
- Drainage design: Do not seal over weep holes, drainage slots, or intentional openings in shower frames and tile systems.
- Backer material: Deep joints may need a compatible backer rod or bond-breaker arrangement so the sealant does not adhere to three sides and crack under movement.
- Natural-stone testing: Even when a joint includes glass or tile, adjacent stone can stain or darken. Test the actual stone and use a stone-safe formula when required.
- Coated glass: Low-e coatings, films, ceramic frit, and decorative treatments may change adhesion. Identify the coating before application.
- Mirror backing: The front glass may be compatible while the backing is not. Use only a mirror-approved sealant.
- Structural limitations: A general-purpose bead is not a structural adhesive, glazing bite, or mechanical fixing.
- Waterproofing responsibility: Surface sealant cannot repair failed waterproof membranes, leaking plumbing, unstable tiles, or incorrectly sloped surfaces.
- Color and shrinkage: Check the cured appearance on a sample because silicone color can appear different against grout, tile, and glass.
- Adhesion testing: Test unusual, coated, polished, or contaminated-looking substrates before completing a full installation.
- Documentation: Record the product name, batch number, application date, substrate condition, and cure conditions for commercial or warranty work.
Fast Implementation Checklist
- Select an acetoxy silicone specifically approved for the glass, glazed ceramic, or tile substrates involved.
- Reject the product if the joint includes acid-sensitive metal, natural stone, mirror backing, or another excluded material.
- Remove all old silicone and contaminated material.
- Clean, rinse, and dry the joint completely.
- Perform an adhesion and staining test when the substrate or coating is uncertain.
- Mask the joint, cut the nozzle at 45 degrees, and test the flow.
- Apply one continuous bead with steady pressure.
- Tool the bead before skin formation and remove tape immediately.
- Protect the joint from water, dust, and movement until fully cured.
- Inspect the finished seal and retain the product documentation for future maintenance.
Final Takeaway
GP acetoxy silicone sealant can provide a durable, flexible finish for many glass, glazed ceramic, and tile joints when the surfaces are compatible and properly prepared. The essential process is simple: verify compatibility, remove old sealant, clean and dry the joint, apply a continuous bead, tool it promptly, and respect the full cure time. For sensitive materials, structural work, continuous immersion, or regulated applications, use a product specifically engineered and certified for that service instead of relying on a general-purpose formulation.

