



WhatsApp: +86 178 6574 8088

E-mail: jackyalum@163.com
English


WhatsApp: +86 178 6574 8088
E-mail: jackyalum@163.com
Related Products
Date: 18 Aug, 2026
A sealant failure rarely begins with the silicone itself. In many projects, the real problem is an incorrectly designed joint: insufficient movement capacity, excessive sealant depth, poor substrate preparation, three-sided adhesion, or an incompatible backing material. When an NP neutral silicone sealant is forced to accommodate movement beyond its designed geometry, the result may be cohesive tearing, adhesive debonding, edge lifting, water penetration, staining, and expensive remedial work. That is why Why Joint Design Matters When Using NP Neutral Silicone Sealant is not simply a technical question—it is a specification, construction, and lifecycle-cost issue for architects, contractors, distributors, and building owners.
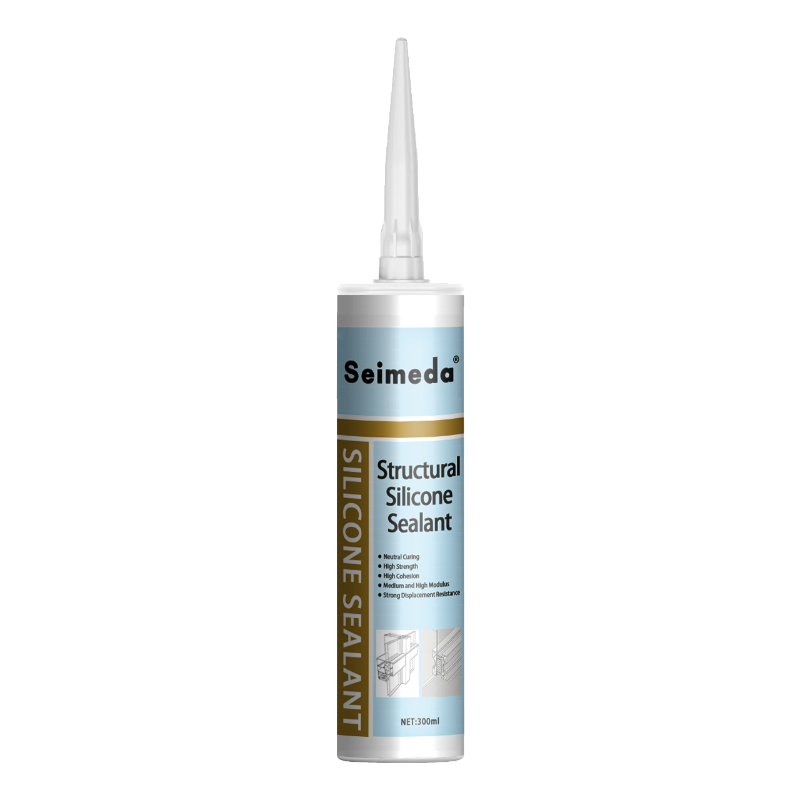
For Seimeda customers, selecting a suitable Neutral Cure Silicone Sealant manufacturer is only one part of the solution. The joint must also be engineered so the sealant can perform as an elastic weatherproofing or glazing component. In this guide, we explain how to design, prepare, install, inspect, and maintain joints using NP neutral silicone sealant.
NP neutral silicone sealant—commonly understood as a non-corrosive, neutral-cure silicone—reacts with atmospheric moisture and releases relatively mild by-products compared with some acetoxy systems. This makes it suitable for many applications involving:
However, neutral cure chemistry does not compensate for poor joint geometry. Silicone is an elastic material, not a structural substitute for a badly detailed interface.
Building materials expand, contract, deflect, and shift at different rates. Thermal movement can be estimated using:
[ \Delta L = \alpha \times L \times \Delta T ]
Where:
For example, a 3-meter aluminum component exposed to a 60°C temperature range may experience movement of several millimeters. If the joint is too narrow or the sealant bead is too deep, the silicone may be exposed to excessive strain.
A properly designed joint allows the sealant to deform primarily in extension and compression rather than in uncontrolled three-dimensional stress.
Joint geometry is one of the most important variables in silicone performance. A deep, narrow bead often cures with internal stress and may not accommodate movement efficiently. A joint that is too shallow may lack sufficient cross-sectional area for durable adhesion.
As a general design principle:
Many construction specifications use a sealant depth of approximately 6–12 mm for common architectural joints, but the correct value depends on joint width, movement class, substrate, and the manufacturer’s technical data sheet. Seimeda project teams and distributors should confirm the applicable design range before approval.
Three-sided adhesion occurs when the sealant bonds to both joint faces and the bottom of the joint. This restricts elastic movement and creates stress concentrations.
The typical consequences include:
A closed-cell polyethylene backer rod or compatible bond-breaker tape can help create the required two-sided adhesion. The backer rod diameter is commonly selected approximately 20–30% larger than the joint width to maintain compression, although the final selection must account for joint shape and installation conditions.
Even high-quality NP neutral silicone sealant cannot adhere reliably to dust, laitance, oil, release agents, loose coatings, or moisture trapped at the bond line.
Before application, we recommend checking:
A solvent wipe may be suitable for some non-porous substrates, but cleaning agents must be compatible with the substrate and used according to the manufacturer’s instructions. Porous materials such as concrete may require mechanical preparation, primer, or both.
Joint design must consider more than thermal expansion. Curtain wall panels, precast concrete, windows, metal cladding, and interior partitions may experience:
A joint that appears acceptable on a static drawing may fail after the building envelope moves repeatedly. This is a major reason Why Joint Design Matters When Using NP Neutral Silicone Sealant in façades, glazing systems, and prefabricated building components.
The designer should identify the expected service movement and environmental conditions before selecting the sealant.
Important inputs include:
For exterior construction, the joint should be classified according to the project’s movement requirements. ASTM C920 is widely used in North America to classify elastomeric joint sealants by properties such as movement capability, adhesion, and durability. ISO 11600 provides an international classification framework for building construction sealants.
The width should be based on calculated movement, not only on the gap visible during installation. A practical design should also include construction tolerances so that the joint remains functional when dimensions vary.
A simplified design review may include:
| Design factor | Recommended control |
|---|---|
| Joint measurement record | Precision to 0.01 mm where practical |
| Intended adhesion | Two-sided adhesion |
| Backer rod compression | Approximately 20–30% larger than joint width, subject to project design |
| Typical controlled sealant depth | Often 6–12 mm, subject to engineering approval |
| Inspection coverage | 100% visual inspection of completed sealant lines |
| Defect response target | Initial technical response within 24 hours |
The numerical values above are design and quality-control targets, not universal replacement values for the Seimeda technical data sheet or project specification.
The backer rod performs several functions:
The backer rod should be installed without puncturing, twisting, or excessively compressing it. If the joint is too shallow for a backer rod, a compatible bond-breaker tape may be used.
Some substrates require primer to achieve reliable adhesion; others may perform better without it. Primer selection should be based on the sealant manufacturer’s recommendations and project-specific testing.
A professional adhesion test should evaluate:
ASTM C794 can be used for peel adhesion evaluation, while ASTM C1248 is relevant when assessing staining of porous substrates. ASTM C1521 is commonly used for field adhesion testing of cured sealants.
The sealant should be applied continuously, without voids or entrapped air. The nozzle opening should be sized to fill the joint rather than bridge across it.
During tooling:
The exact skin-over time, tack-free time, and cure rate vary with temperature, humidity, bead dimensions, and product formulation. A technical data sheet should always control installation decisions.
A responsible Neutral Cure Silicone Sealant manufacturer should support product evaluation through relevant performance data. Depending on the application, the specification may reference:
No single test proves suitability for every project. The final approval should consider the actual substrates, joint dimensions, climate, movement, and installation method.
Consider a commercial façade project with aluminum frames and precast concrete panels. The original detail used a narrow 8 mm joint with a deep sealant fill and no bond breaker. After one seasonal cycle, the contractor observed:
A redesigned detail increased the joint width, controlled sealant depth with a backer rod, cleaned the substrates, and introduced adhesion testing before mass installation. The project team then completed 100% visual inspection and recorded field adhesion results at representative locations.
This example is illustrative rather than a claim about a specific Seimeda installation. It demonstrates a recurring industry pattern: a relatively small investment in joint engineering can prevent significant replacement, access equipment, labor, and reputation costs.
The question Why Joint Design Matters When Using NP Neutral Silicone Sealant has a direct commercial answer: joint design affects warranty exposure, installation productivity, material consumption, and customer trust.
Poor joint details may lead to:
A controlled joint can reduce unnecessary sealant consumption because the bead is not excessively deep. It also makes tooling and inspection more consistent.
A distributor is often judged not only by product availability but also by technical support. A Neutral Cure Silicone Sealant manufacturer that provides documentation, compatibility guidance, and responsive troubleshooting helps distributors reduce claims and improve project retention.
Useful supplier support may include:
Sealant failure can allow moisture into insulation, wall cavities, window interfaces, and interior finishes. The visible defect may be a small crack, but the hidden consequences can include:
When business operations, occupancy patterns, or maintenance budgets change, neglected joints become more expensive to repair. A retail building may need to remain open during remedial work; an industrial facility may face production interruptions; a residential tower may require complex occupant coordination.
Color matching is important, but it does not confirm adhesion, movement capability, weather resistance, or compatibility.
NP neutral silicone sealant may require primer or special preparation on certain substrates. Adhesion must be confirmed through testing.
Excessive depth increases material use and may restrict movement. The joint should be designed with a suitable backer system.
Surface contamination is one of the most common causes of premature adhesive failure.
Even a technically correct drawing can fail during installation. Inspect joint dimensions, backing, cleaning, tooling, and cured adhesion.
When evaluating Seimeda as a Neutral Cure Silicone Sealant manufacturer, project teams should connect product selection with joint engineering and site execution.
Before installation:
During installation:
After installation:
The key lesson behind Why Joint Design Matters When Using NP Neutral Silicone Sealant is straightforward: long-term performance depends on the interaction between chemistry, geometry, substrates, movement, and workmanship. Even the best NP neutral silicone sealant can fail when it is installed in an overly deep joint, bonded on three sides, applied to contaminated surfaces, or exposed to movement beyond its design capability.
We recommend treating Seimeda product selection as part of a complete system-engineering process. Confirm joint dimensions, control sealant depth, use compatible backing materials, test adhesion, follow relevant ASTM or ISO standards, and complete 100% inspection of finished sealant lines. By addressing these details before installation, contractors and building owners can reduce rework, protect waterproofing performance, and build a more reliable long-term maintenance strategy.