








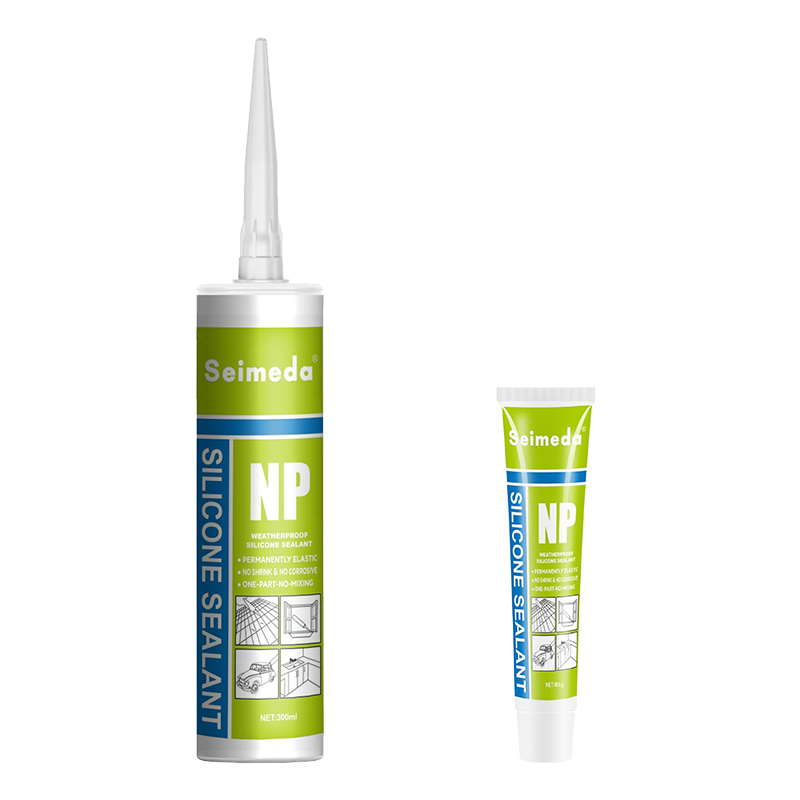
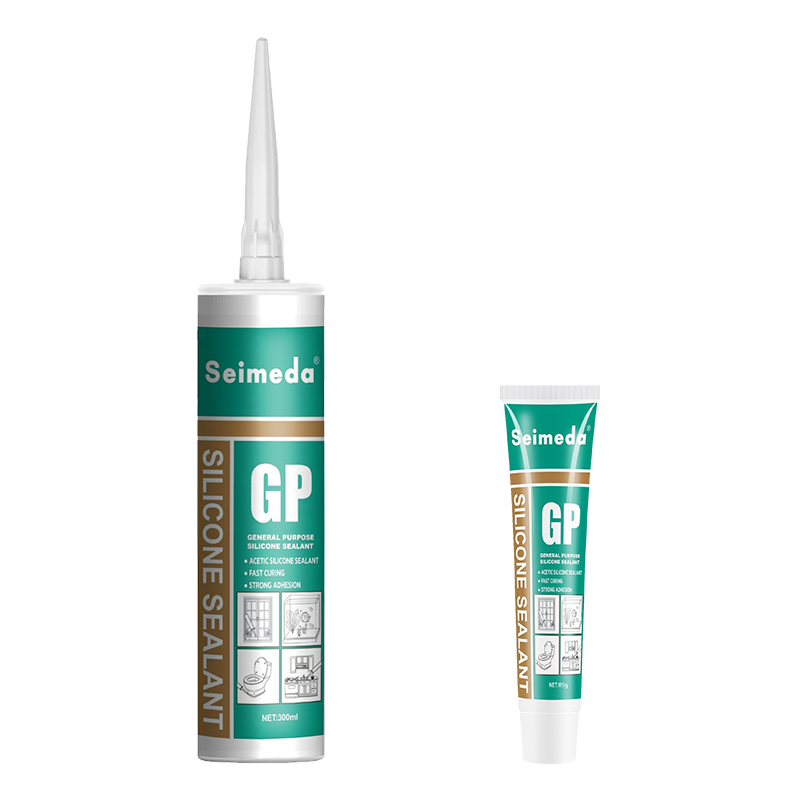
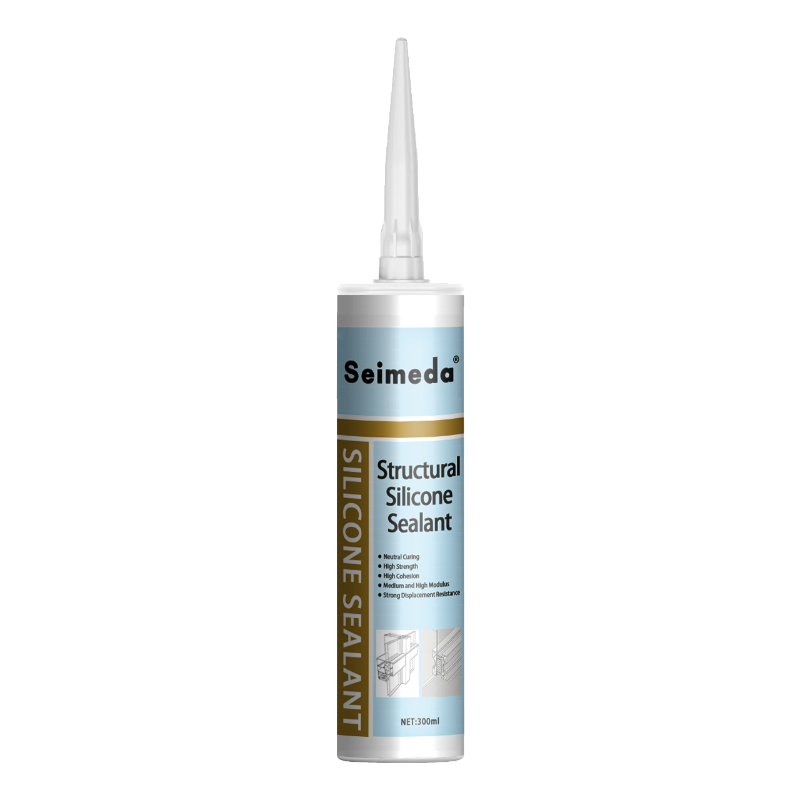
Acetic silicone sealant can create a strong, flexible, and water-resistant joint when the application is controlled. The most important factors are surface preparation, substrate compatibility, and correct curing conditions. A clean surface is more important than using a thicker bead. The right silicone sealant primer can also improve bonding on difficult materials. This guide explains how to prepare, apply, and test acetoxy silicone sealant for more reliable results.
Many adhesion problems are not caused by the silicone formula alone. Dust, oil, water, loose paint, low surface energy plastic, and poor joint design can all reduce the final bond. In most cases, better preparation gives a larger improvement than simply applying more sealant.
Quick answer: To improve acetic silicone sealant adhesion, confirm substrate compatibility, remove dirt and oil, dry the joint, use a compatible primer when required, apply the correct bead size, tool the sealant while fresh, and protect the joint during cure. Always confirm the final procedure with the product technical data sheet and a small adhesion test.
1. Confirm That Acetic Silicone Sealant Is Suitable for the Substrate
Adhesion starts before the cartridge is opened. Acetic silicone sealant is commonly selected for glass, glazed ceramic, aluminum, and many non-porous surfaces. It is not automatically suitable for every building material, metal, plastic, or painted surface.
Commonly suitable surfaces
- Glass and mirrors with a compatible backing
- Glazed ceramic and many bathroom fixtures
- Anodized or coated aluminum after testing
- Some stainless steel surfaces after cleaning and testing
- Selected painted metal and rigid plastic surfaces after a compatibility test
Surfaces that need extra care
- Concrete, cement, brick, stone, and other porous materials
- Polyethylene, polypropylene, PTFE, and other low surface energy plastics
- Natural stone that may stain or discolor
- Copper, brass, zinc, and other metals that may react with acid vapor
- Fresh paint, powder coating, lacquer, and unknown surface treatments
Acetoxy silicone releases acetic acid during cure. This curing chemistry is useful for many general purpose sealing jobs, but it may not be the best choice for acid-sensitive metals, alkaline porous surfaces, electronic components, or some plastic parts. A neutral cure silicone may be a better option for these applications.
Use a compatibility checklist
- Identify the exact substrate, coating, and surface treatment.
- Check the sealant technical data sheet for approved uses.
- Ask whether the joint will contact water, chemicals, sunlight, or high heat.
- Test adhesion on the actual production material.
- Inspect the cured bond before starting full-scale application.
Practical conclusion: A sealant that bonds well to plain glass may bond differently to painted glass, coated aluminum, or dusty ceramic. Always test the real surface, not only a sample of the base material.
2. Clean the Surface More Carefully Than You Think
Surface contamination is one of the most common causes of sealant failure. Silicone cannot form a reliable bond to dust, grease, release agent, soap film, fingerprints, or loose coating. Cleaning should remove both visible and invisible contamination.
Recommended cleaning sequence
- Remove loose dust and particles with a clean, dry, lint-free cloth.
- Remove old sealant with a scraper or suitable removal tool.
- Use a compatible solvent to remove oil, grease, wax, and fingerprints.
- Wipe the surface with a second clean cloth before the solvent evaporates.
- Allow the surface to become fully dry before applying sealant.
Use clean cloths instead of dirty rags. A cloth that has already picked up oil can spread contamination across the joint. For large projects, change the cloth often and use a two-cloth cleaning method. One cloth applies or spreads the cleaner, and the second cloth removes the dissolved contamination.
Select the cleaner with care
Isopropyl alcohol is often useful for many non-porous surfaces, but it is not suitable for every coating or plastic. Some strong solvents can soften paint, damage plastics, or leave a film. Follow the surface supplier's instructions and test the cleaner in an unseen area.
| Surface condition | Recommended action | Adhesion risk if ignored |
|---|---|---|
| Dusty glass | Dry wipe, then clean and dry | Weak contact and early peeling |
| Oily metal | Use a compatible degreaser and a clean cloth | Interfacial failure at the surface |
| Old silicone residue | Remove mechanically and clean the residue | New silicone may not bond to old silicone |
| Wet masonry | Allow drying and check moisture conditions | Bubbles, poor wetting, and delayed cure |
| Loose paint | Remove unstable coating and repair the surface | Sealant pulls the paint away from the substrate |
3. Make Sure the Joint Is Dry Before Application
Water can prevent the sealant from wetting the substrate. It may also remain trapped under the bead and create blisters or a weak boundary layer. This problem is common on bathroom surfaces, outdoor frames, and porous construction materials.
Do not apply acetic silicone sealant to a visibly wet joint unless the product is specifically designed for that condition. After cleaning, wait until the surface is dry. If the temperature has changed quickly, check for condensation. A surface can look dry while a thin water film remains on cold glass or metal.
Simple moisture checks
- Touch the surface with a clean, dry cloth.
- Look for fogging or small water beads on cold materials.
- Use a moisture meter for porous construction materials when available.
- Do not seal after rain until the joint has dried fully.
- Protect the prepared surface from dust and water before application.
High humidity does not always stop silicone curing, because moisture can support cure. However, liquid water, condensation, and a wet substrate can still reduce initial adhesion. Curing moisture and surface wetness are not the same condition.
4. Use a Primer When the Substrate Requires It
A primer can improve adhesion by preparing the surface for the silicone sealant. It is especially useful on some porous surfaces, coated metals, plastics, and materials with variable surface energy. Primer is not a substitute for cleaning. Applying primer over dust or oil can lock contamination into the bond line.
Correct primer procedure
- Clean and dry the substrate first.
- Choose a primer approved for the exact sealant and substrate.
- Apply a thin, even film rather than a heavy wet layer.
- Allow the primer to flash off for the time stated by the supplier.
- Apply the sealant within the recommended primer working period.
Too much primer can create a weak film between the sealant and the substrate. An incorrect primer may also cause discoloration, cracking, or loss of adhesion. For export projects, provide the buyer with the primer name, application rate, drying time, and compatibility information.
Important: Do not assume that one primer works with every acetoxy silicone sealant. Primer selection should be confirmed through the sealant manufacturer, substrate supplier, or a documented adhesion test.
5. Prepare the Joint for Movement and Mechanical Stress
Adhesion alone cannot compensate for a badly designed joint. Silicone sealant is flexible, but it still needs enough contact area and room to move. A narrow, deep, or irregular joint can place excessive stress on the bond line.
Basic joint design principles
- Make sure the sealant contacts clean, stable surfaces on both sides.
- Remove sharp edges that can cut or concentrate stress in the cured bead.
- Use suitable backing material in deep joints.
- Prevent three-sided adhesion when movement is expected.
- Keep the sealant depth and width within the product guidance.
Backer rod can control sealant depth and reduce unnecessary material use. It also helps the bead move in the intended direction. Use a compatible, non-staining backing material. Do not puncture the backing rod, because trapped air can contribute to bubbles.
Why bead shape affects adhesion
A smooth, continuous bead gives better contact than a broken or irregular bead. A bead that is too thin may not absorb movement. A bead that is too deep may cure slowly and develop internal stress. The correct dimensions depend on the joint and the technical data sheet.
| Joint problem | What may happen | Better control |
|---|---|---|
| Too little sealant contact | Low bond area and early detachment | Prepare clean, stable contact faces |
| Excessive sealant depth | Slow cure and higher internal stress | Use backing material where suitable |
| Three-sided adhesion | Restricted movement and cohesive tearing | Use a bond breaker or suitable backing |
| Interrupted bead | Water entry and weak points | Apply a continuous bead without gaps |
6. Apply the Sealant at the Right Temperature and Speed
Temperature affects viscosity, surface wetting, cure speed, and tooling time. A cold cartridge may be difficult to extrude and may not spread well. Excessive heat can shorten the working time and increase skin formation before tooling.
For many general purpose products, an application range around 5 to 40 C is common, but the exact range must come from the product technical data sheet. Store the cartridge according to the manufacturer's instructions. Do not leave sealant in direct sunlight or inside a hot vehicle.
Application controls that improve contact
- Cut the nozzle at an angle suited to the joint width.
- Use steady gun pressure to keep the bead continuous.
- Hold the nozzle close to the joint and push the sealant into the gap.
- Avoid moving so fast that the bead becomes thin or hollow.
- Apply enough material to fill the joint without creating large air pockets.
Airless application is not only about appearance. A bead with hidden voids has less effective contact area. When applying to vertical joints, work in manageable sections and inspect the bead before the surface skins.
7. Tool the Bead Before Skin Formation
Tooling presses the fresh sealant against the contact surfaces and removes small gaps. It also creates a smooth profile that sheds water. Tooling must be completed while the sealant is still workable.
Recommended tooling method
- Apply a continuous bead slightly larger than the final joint profile.
- Tool from one end to the other with steady pressure.
- Press the sealant into both bond faces.
- Remove excess material before it begins to skin.
- Lift the tool cleanly at the end of the joint.
Do not use excessive soapy water or unknown tooling liquids. Some liquids can transfer contamination to the bond line or affect the surface skin. If a tooling aid is needed, use one approved by the sealant manufacturer and apply it only to the surface of the bead.
Tooling defects that reduce performance
- Dragging the nozzle away from the substrate
- Leaving pinholes at corners
- Applying the bead over a contaminated masking tape edge
- Tooling after the sealant has already skinned
- Cutting the joint surface and exposing air pockets
8. Allow Full Cure Before Exposing the Joint to Stress
Acetic silicone sealant usually forms a surface skin before the full depth has cured. A joint may look finished while the inside remains soft. Moving the assembly, washing the surface, or applying load too early can damage the developing bond.
Cure speed depends on temperature, humidity, bead thickness, ventilation, and product design. A thick bead normally cures more slowly than a thin bead. Do not close the joint against an impermeable surface if the sealant needs moisture from the air to cure.
Cure protection checklist
- Keep the joint still during the initial cure period.
- Prevent contact with water, dust, and cleaning chemicals.
- Allow ventilation around the sealant where possible.
- Do not paint the sealant unless the product allows it.
- Follow the stated cure time before packaging or shipping assembled parts.
For production lines, define a minimum handling time and a full cure time. These are different controls. A part may be safe to move after one period but not safe to test, package, or place under load until a later period.
Step-by-Step Flow Chart for Better Silicone Adhesion
The following process can be used by installers, fabricators, and distributors who want a repeatable application method.
- Identify the substrate and check whether acetoxy silicone is suitable.
- Inspect the joint for cracks, loose coating, old sealant, and moisture.
- Remove unstable material and repair the joint if needed.
- Clean the contact faces with a compatible method.
- Dry the joint and protect it from new contamination.
- Apply primer if required and observe the correct flash-off time.
- Load and prepare the cartridge without damaging the nozzle.
- Apply one continuous bead with steady pressure.
- Tool the sealant before skin formation.
- Protect the joint until the specified cure is reached.
- Inspect and test the bond before repeating the procedure at scale.
Substrate check
Then clean and dry
Then primer decision
Then continuous application
Then tooling
Then protected curing
Then adhesion inspection
How to Perform a Simple Adhesion Test
A small test can identify problems before they affect a large order or installation. The test should use the same substrate, cleaner, primer, bead size, temperature, and cure time expected in the real application.
Basic peel test method
- Apply a short bead to a clean test panel.
- Tool the bead using the planned production method.
- Allow the sealant to cure for the required time.
- Cut both sides of the cured bead carefully with a sharp blade.
- Pull one end of the bead away from the substrate at a slow, steady rate.
- Observe whether failure occurs at the interface or inside the sealant.
Understand the result
Adhesive failure means the sealant separates cleanly from the substrate. This often points to contamination, poor compatibility, insufficient primer, wetness, or inadequate tooling. Cohesive failure means the sealant tears inside its own body while part of the sealant remains attached to the substrate. A cohesive result usually indicates stronger surface adhesion, but the joint still needs to meet the required performance standard.
| Test observation | Likely cause | Corrective action |
|---|---|---|
| Clean release from glass | Oil, dust, or poor cleaning | Review cleaning materials and drying time |
| Release from coated metal | Coating incompatibility or weak coating | Test the coating and consider primer |
| Release from plastic | Low surface energy or mold release agent | Use an approved surface treatment or different sealant |
| Sealant tears internally | Surface bond is stronger than the sealant body | Confirm movement and cure requirements |
| Bubbles inside the bead | Trapped air, moisture, or excessive application speed | Improve nozzle control and substrate drying |
Common Mistakes That Cause Poor Adhesion
Applying new sealant over old silicone
New silicone normally does not create a dependable bond to cured silicone. Remove the old material as completely as possible, then clean the exposed substrate. A thin invisible residue can still reduce adhesion.
Using a wet finger to smooth the joint
Water or a detergent solution can contaminate the interface if it reaches the bond area. Tool the bead with a clean tool and keep any approved tooling liquid on the surface only.
Applying to a dusty porous surface
Porous materials may release dust even after a quick wipe. Vacuuming, brushing, drying, and priming may be required. If the substrate remains weak, the sealant may pull surface particles away instead of bonding to a stable layer.
Using a thick bead to compensate for poor preparation
More sealant does not create a stronger bond when the contact face is dirty. Thick beads can cure more slowly and may increase movement stress. Improve the surface first, then select the correct joint dimensions.
Ignoring the sealant shelf life
Material past its recommended shelf life may show poor extrusion, skinning, cure, or adhesion. Store cartridges in the stated conditions and rotate inventory using a first-in, first-out system.
Testing only one substrate sample
A production batch may contain different coatings, textures, or cleaning residues. Test representative samples from each supplier and finish. Record the result so the application method can be repeated.
Acetic Silicone Sealant Compared With Other Sealant Options
Choosing the correct chemistry can prevent an adhesion problem before application begins. General purpose acetoxy silicone is often valued for fast surface skinning, flexibility, weather resistance, and good bonding to many non-porous surfaces. Other chemistries may be more suitable for special substrates.
| Sealant type | Typical advantage | Important limitation | Suitable decision point |
|---|---|---|---|
| Acetoxy silicone | Good general purpose sealing on many non-porous surfaces | Acidic cure may not suit sensitive metals or some porous materials | Use after substrate compatibility testing |
| Neutral cure silicone | Better choice for many sensitive substrates | May have different cure speed and primer needs | Consider for metals, masonry, and selected plastics |
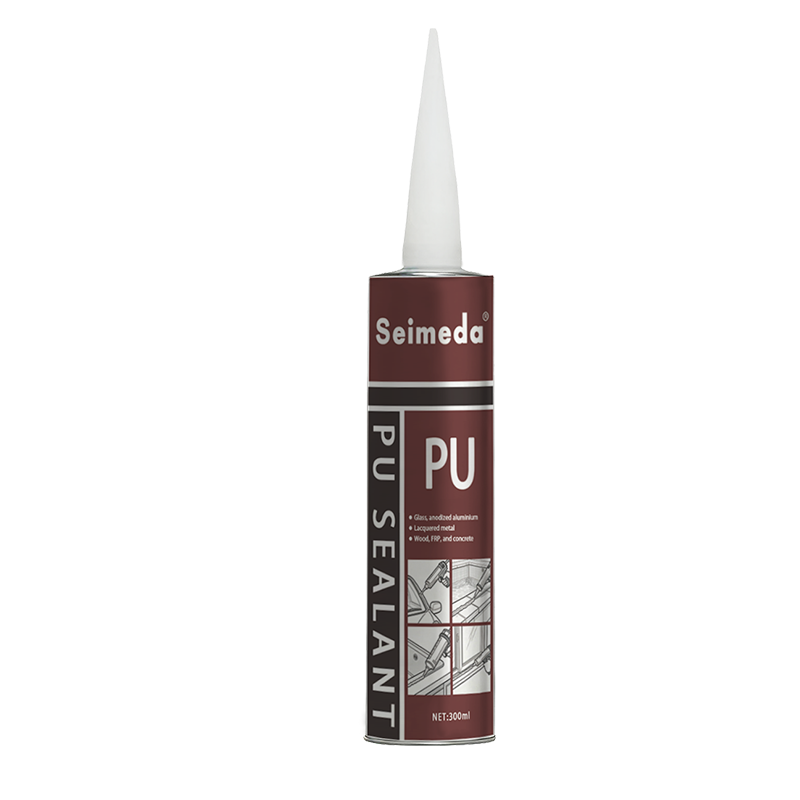
| Polyurethane sealant | Strong adhesion and paintable options | Different moisture, movement, and weathering behavior | Review when mechanical bonding is important |
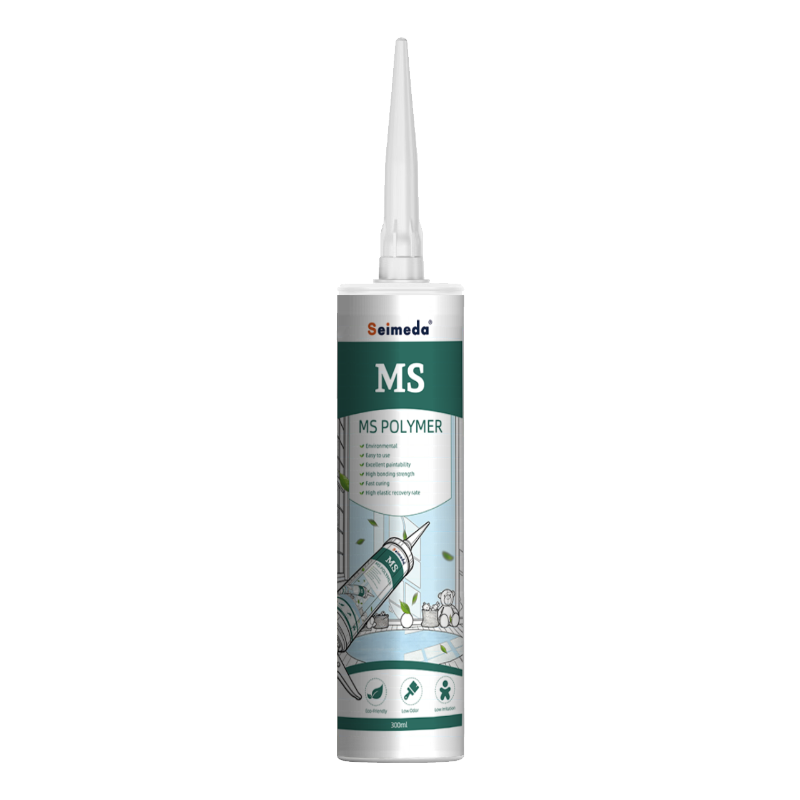
| MS polymer sealant | Broad substrate range in many formulations | Performance depends strongly on the specific product | Compare technical data before replacement |
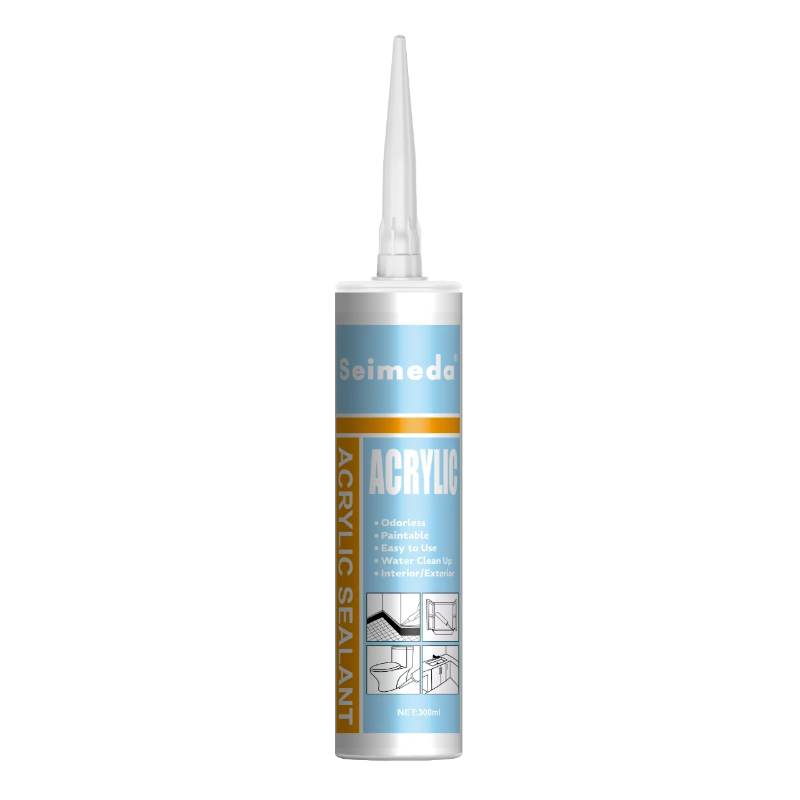
| Acrylic sealant | Simple use and some paintability | Usually less suitable for constant water exposure | Use for selected low-movement indoor joints |
Quality Control for Manufacturers and Distributors
Overseas buyers often need more than a product name. They need a consistent application method, clear storage instructions, and evidence that the sealant performs on the target substrates. Seimeda can support a professional sales process by supplying product information and application guidance with each order.
Recommended documents for export customers
- Technical data sheet with cure, temperature, and application information
- Safety data sheet for storage, handling, and transport review
- Color, packaging, and batch identification details
- Substrate compatibility notes and primer recommendations
- Adhesion test procedure for the buyer's actual materials
- Storage temperature, shelf life, and stock rotation instructions
Production line controls
Record the batch number, substrate supplier, cleaning product, primer batch, application temperature, bead size, and cure time. A simple record can help identify whether a failure came from the sealant, the surface, or the process.
Inspect the cartridge before use. The nozzle should extrude a smooth, uniform material without hard particles or separated liquid. Check the package seal, production date, and shelf life. If the product has been stored outside the recommended conditions, perform a test before release.
Frequently Asked Questions About Acetic Silicone Adhesion
Why does my acetic silicone peel from glass?
The glass may have oil, dust, detergent, condensation, or old silicone residue. Clean it with a compatible method, dry it completely, and perform a peel test. Also check whether the bead was too thin or too heavily disturbed during tooling.
Can acetic silicone bond to aluminum?
It can bond to many aluminum surfaces, but the result depends on the alloy, anodizing, paint, oil, and surface treatment. Clean and test the exact aluminum finish. A primer or neutral cure product may be required for some applications.
Can I apply acetoxy silicone to concrete?
Porous concrete can be difficult because it may contain dust, moisture, alkaline residue, and weak surface particles. Check the product instructions and use a compatible primer when approved. A neutral cure or construction-grade product may be a better choice.
Does primer always improve adhesion?
No. The wrong primer, an overly thick primer film, or poor drying can reduce adhesion. Primer should be selected for the exact sealant and substrate, applied in a thin layer, and verified by testing.
How long should silicone cure before water contact?
The answer depends on bead thickness, temperature, humidity, ventilation, and the product formula. Follow the technical data sheet rather than using a fixed time for every project. A surface skin does not prove that the full bead has cured.
Can I paint over acetic silicone sealant?
Most cured silicone sealants are not easily paintable with ordinary coatings. If painting is required, choose a product specifically designed for paintability and confirm compatibility before installation.
Why does silicone stick to one plastic but not another?
Plastic surfaces differ in surface energy, additives, mold release agents, and flexibility. Polyethylene and polypropylene are often difficult to bond without special treatment. Test each plastic grade and finish separately.
Final Adhesion Checklist
Before approving an acetic silicone sealant application, confirm the following points:
- The sealant chemistry matches the substrate and service conditions.
- The contact surfaces are stable, clean, dry, and free from old silicone.
- The cleaner is compatible with the surface coating.
- A primer has been used only when required and approved.
- The joint has suitable width, depth, and backing support.
- The cartridge is within its shelf life and correctly stored.
- The application temperature is within the product range.
- The bead is continuous and free from visible air pockets.
- The sealant is tooled before skin formation.
- The joint is protected until full cure.
- A representative adhesion test has passed.
Final conclusion: The most reliable way to improve acetic silicone sealant adhesion is to control the complete process, not only the cartridge. Choose a compatible substrate, clean and dry it, use primer when required, design the joint correctly, apply a continuous bead, tool it promptly, and allow full cure. These practical controls can reduce peeling, bubbles, water entry, and early joint failure for installers, manufacturers, and overseas distributors.
For product selection, private label supply, and application support, overseas buyers can discuss their substrate, joint design, packaging needs, and target market with Seimeda. A tested procedure gives customers more confidence than a general adhesion claim, especially when the sealant will be used across different climates and construction materials.

